ALEKO
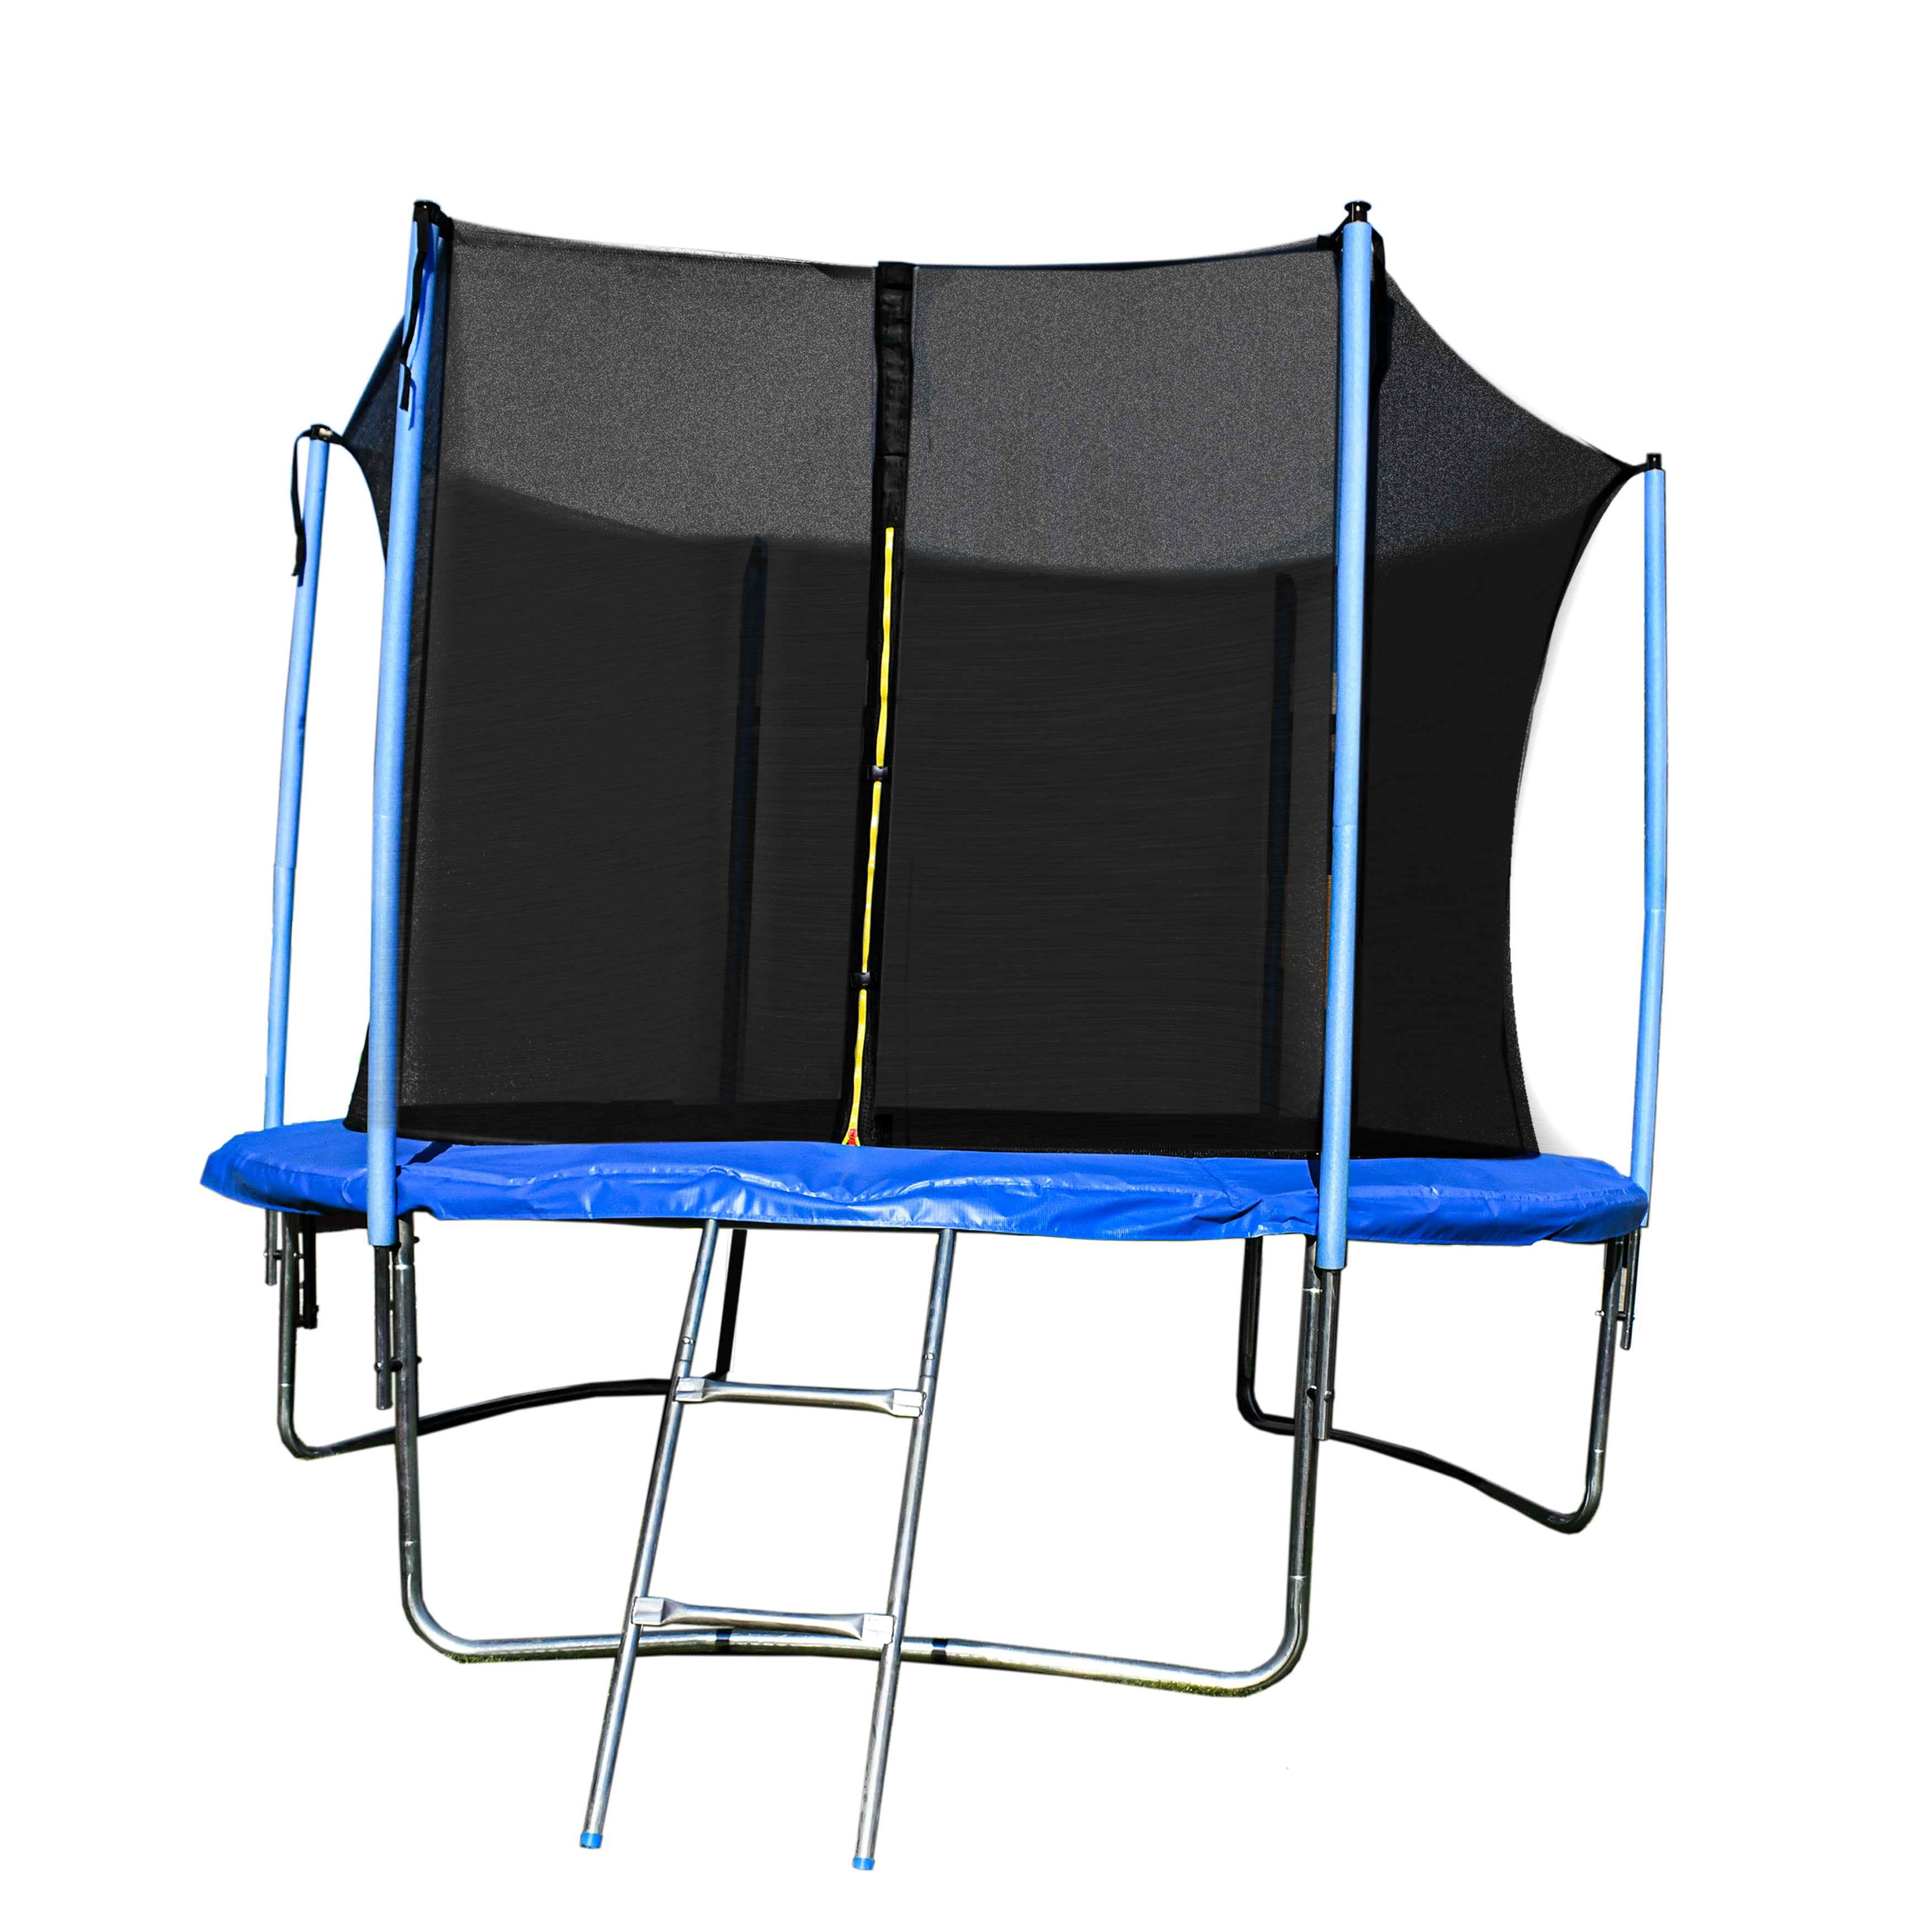
ALEKO TRP14 Trampoline with Safety Net and Ladder - 14 Feet - Black and Blue
USD$160.95
3.67 stars out of 3 reviews
3 reviews
USD$160.95
$160.95
Free overnigh delivery
Notice unusual marketplace activity?
ReportCustomer reviews & ratings
3.67 out of 5stars
(3 reviews)
Most helpful positive review
5.00 out of 5 stars review
Verified Purchaser
07/08/2017
Good value for $209
Good value for $200. Appears to be sturdy and should last a number of years. Directions for assembly are poor yet passable with trial and error.
One man install. Took about three hours. I needed help from my wife working the safety net sleeves down the safety net posts.
- Leg direction should have the self drilling screw hole facing outward so it can be inspected for wear or loosening.
- The T -joint piece looks like it is supposed to be screwed into the socket yet there isn't a pre-drilled hole nor enough screws provided.
- You'll need the screws to affix the lower safety net post to the upper post.
- I laid out the ring with spring holes up and then slipped each joint into the T-Joint. The instructions pictured assembling the frame upside down and the flipping the unit over which is silly.
- Don't over tighten the gold nut and bolt or it'll sheer off.
- Afix the black end caps to the bottom and top of the safety net posts before installing the net.
- When putting the springs on, place them every 5 or so to start stretching the mat.
- Wear gloves or you'll get pinched.
- The last quarter of the mat, you'll want to attach two springs end to end to shorten the gap and make placing single spings easier to install as the mat stretches,
- Any D ring that became twisted vertically should be repositioned horizontally so as to not tear the stitching prematurely. I like to swap out the spring also as the first springs installed get really stretched out.
- When installing the net, slide the upper pole into the net sleeve and the slip the upper post into the lower post and attach the self drilling screw and washer.
- Try not to bunch up the pool noodle plumbing insulation. Work your way around each post, easing down the sleeve.
- In regard to the T-joint, I'm going to go out tomorrow and drill a pilot hole and attach some purchased screws. It is unlikely the leg will work itself out yet will fall out while moving the assembled frame.
PKane
Most helpful negative review
1.00 out of 5 stars review
Verified Purchaser
04/14/2020
1WMOnlineShopper
-
5.00 out of 5 stars reviewVerified Purchaser09/23/2021ALEKO TRP14 Trampoline with Safety Net and LadderMy order came within a week and the kids were so happy, it was so easy to put together.Shirley
-
1.00 out of 5 stars reviewVerified Purchaser04/14/2020I don't like the frame. It bent when putting the springs on and we had to return.1WMOnlineShopper
-
5.00 out of 5 stars reviewVerified Purchaser07/08/2017Good value for $209Good value for $200. Appears to be sturdy and should last a number of years. Directions for assembly are poor yet passable with trial and error. One man install. Took about three hours. I needed help from my wife working the safety net sleeves down the safety net posts. - Leg direction should have the self drilling screw hole facing outward so it can be inspected for wear or loosening. - The T -joint piece looks like it is supposed to be screwed into the socket yet there isn't a pre-drilled hole nor enough screws provided. - You'll need the screws to affix the lower safety net post to the upper post. - I laid out the ring with spring holes up and then slipped each joint into the T-Joint. The instructions pictured assembling the frame upside down and the flipping the unit over which is silly. - Don't over tighten the gold nut and bolt or it'll sheer off. - Afix the black end caps to the bottom and top of the safety net posts before installing the net. - When putting the springs on, place them every 5 or so to start stretching the mat. - Wear gloves or you'll get pinched. - The last quarter of the mat, you'll want to attach two springs end to end to shorten the gap and make placing single spings easier to install as the mat stretches, - Any D ring that became twisted vertically should be repositioned horizontally so as to not tear the stitching prematurely. I like to swap out the spring also as the first springs installed get really stretched out. - When installing the net, slide the upper pole into the net sleeve and the slip the upper post into the lower post and attach the self drilling screw and washer. - Try not to bunch up the pool noodle plumbing insulation. Work your way around each post, easing down the sleeve. - In regard to the T-joint, I'm going to go out tomorrow and drill a pilot hole and attach some purchased screws. It is unlikely the leg will work itself out yet will fall out while moving the assembled frame.PKane